
Barcode Training Video (2026)
Passcode: *qjC1eFy
___
Barcode Training Video (2025)
Passcode: ZSi6TN%n
Download a Step by Step Printable PDF file of the 2024 instructions shown below.
It is still relevant except for references such as “password coming soon”.
Video Walk Through Artist Portal.
Using CONSIGNOR CONNECT Artist Portal
IMPORTANT: you must use Google’s CHROME web browser on PC or Mac
Click on the Artist Portal link: http://portal.consignorconnect.com/app
Login information was emailed to each artist individually. If you cannot locate your login info, please email me at laaf.treasurer@gmail.com, and I will provide you with the info.
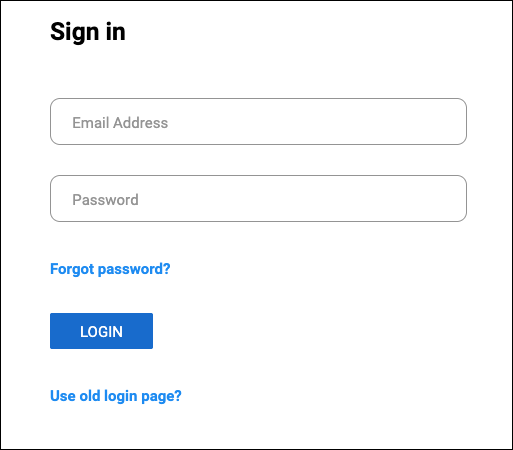
The “Sign In” page to your portal will look like this.
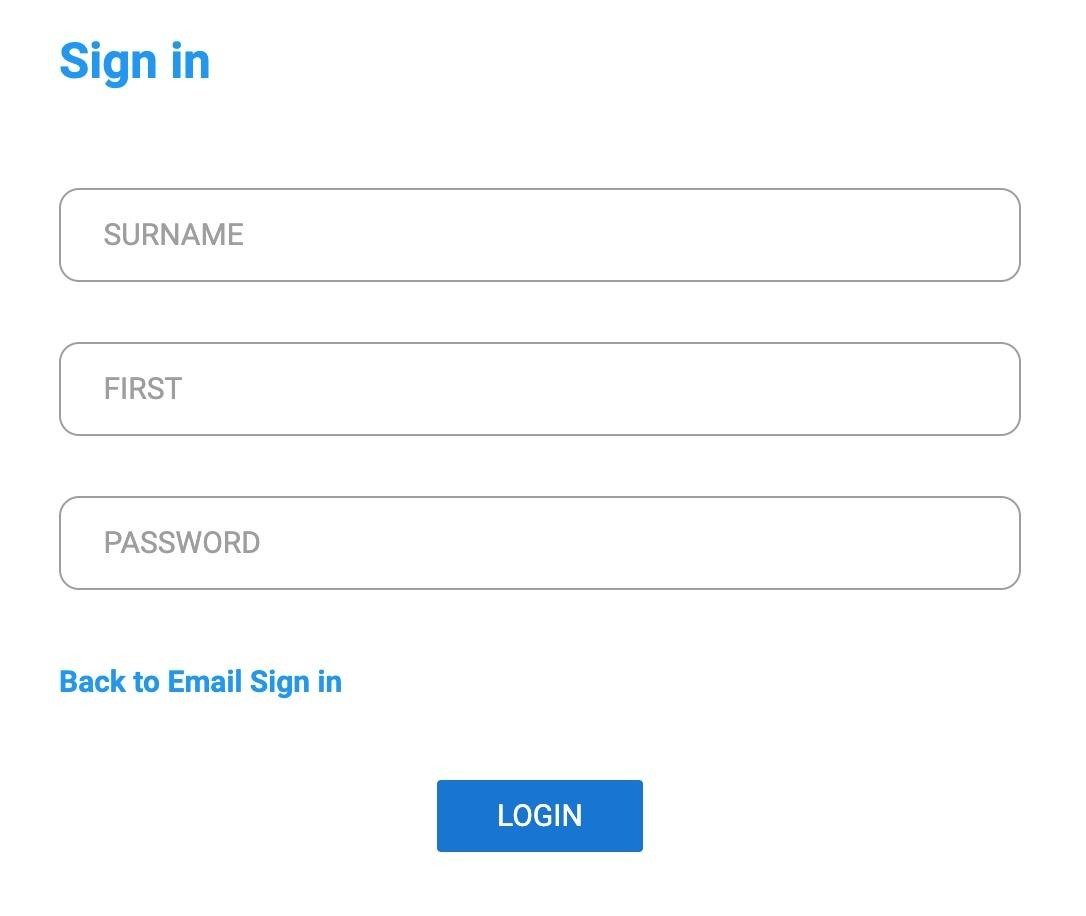
If it doesn’t and instead looks like this version below, click on Use old login page? at the bottom of screen
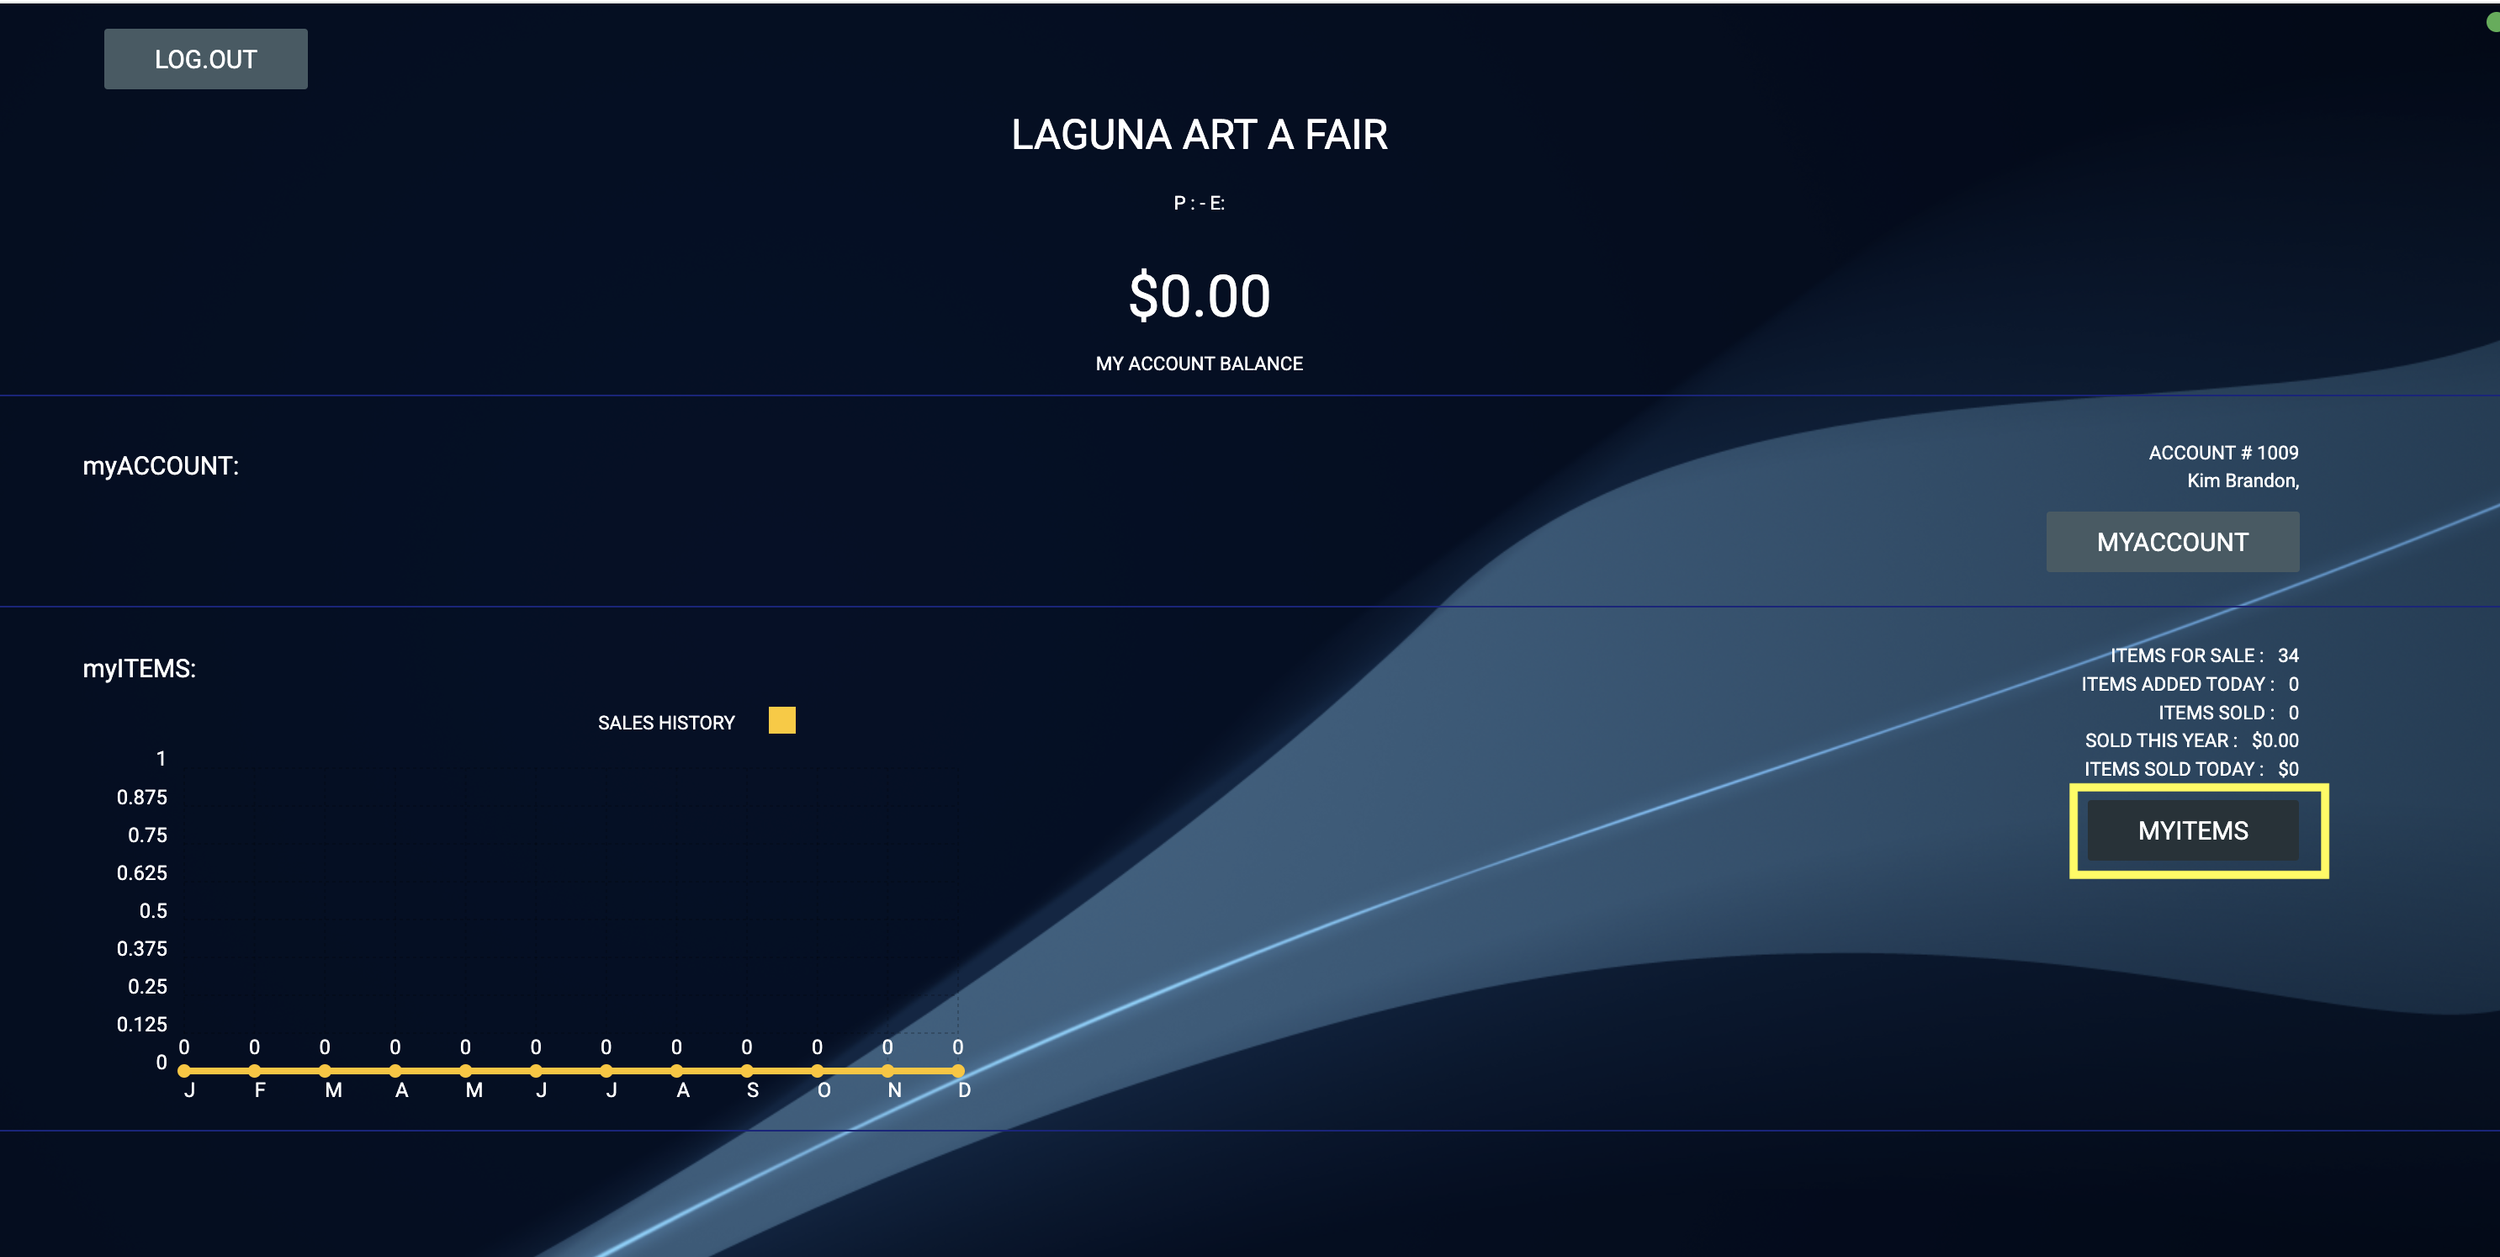
Part 1: MY ACCOUNT overview
View BALANCE DUE and SOLD ITEMS since the last sales batch was posted on the main dashboard.

Click on “MY ACCOUNT” to view your account information, such as name, address, and email. You can update these at any time. Save changes, Undo Changes and Print are all available to you.

Click on "MY PAYOUTS” to view payout history. This information can be printed by clicking the blue “PRINT” button. Information and details of each week’s payout is available by clicking the blue/white printer icon in the VIEW column.
(The details screen is not shown here)

Part 2: MY ITEMS overview
Click on “MY ITEMS” from the main dashboard to view all barcodes
Click on “ACTIVITY” to view Sold Inventory that has NOT been Paid Out, yet.
The STATUS field refers to inventory sales to be posted to artist accounts.
If STATUS = PROCESSED, then the items sold are reflected in the balance.
If STATUS = PROCESSING, then the sales batch has NOT posted and SOLD items are NOT reflected in the balance owed to the Artist.

Click “PAID SOLD” to view the individual items sold by SKU. Click “PRINT VIEW” to print list or click “STATEMENT OF SALES” and select a year in the dropdown menu. Note: this is a newer system launched for the 2024 season therefore, history will only go back to 2024. The 2026 season will be available once the season begins.

Part 3: Creating or editing barcodes
NOTE: All old printed barcodes will still scan and can be reused on your artwork as long as you never deleted them or requested them to be deleted.
1. To create a barcode, click on “MY ITEMS”

2. Click the “SELLING” to display your barcoded inventory with details and SKU
3. Click on the blue “CREATE ITEM” button to create a barcode for a new item

4. Click “GENERATE SKU” to automatically create your new items SKU code

5. In the “LOCATION” dropdown menu select Laguna Art A Fair
6. In the “DESCRIPTION” box, enter a brief item description
7. In the “CATEGORY” dropdown menu select your item type
8. Under “BRAND”, create a brand (6-12 character, for example: JohnDoe) your brand should be the same for all of your barcodes. For Returning Artists, your brand was predetermined as your barcode code, if you would like to change it, go to each barcode and click “Alter Item” and type new in Brand field for each barcodes.
9. Enter a “SIZE” if applicable
10. Always Enter 1 for “QUANTITY”
11. Enter the “PRICE”
Do NOT enter anything under “FEE”
Do NOT click or unclick any of the other boxes.
12. Click on “SAVE AND CLOSE” and you will be taken to the barcode page.
13. To Edit Barcodes, click on “ALTER ITEM” to the right of the barcode .
Make your changes to Size, Brand, Description, Category, and/or Price
ATTENTION ! ! TO AVOID PRICE SCANNING ISSUES
If you change a price on any bar code the previously printed labels will scan as the new price even if the old price is on the label
It would be best to create a new bar code with the new price if you intend to use both the old and the new bar codes.
OR simply discard the previously printed barcodes, and print new ones, if you no longer want to sell at the old price.
Click “SAVE AND CLOSE”
PART 4: Printing Labels
1. On the “SELLING” screen, enter the quantity of barcodes you wish to print and click the “PRINT LABEL” checkbox next to that barcode.
2. Once you have determined which barcodes you want to print and have entered the quantities needed, click the blue “PRINT LABELS” button above.

3. The preview screen will display, then click the white PRINTER ICON

4. The printer settings will display, click “More Settings” to view all settings

5. Paper size = "Letter"
6. Pages per sheet = “1", unless you want multiple sheets
7. Margins = “None"
8. Scale = “Custom” at "100"
9. Load Matte finish Avery Presta 94103 Square Label (1 in. x 1 in.) in printer
10. Click blue “PRINT” button. The labels begin printing at the page top.
NOTE: If you are printing on a used partial sheet of labels, count from the top left and down in the white boxes on the preview screen. Then click on the box that indicates the location of the first unused label on your partial label sheet.
